Difference between revisions of "Start with Smart Docking library"
m (→Simple) |
(→Simple) |
||
| Line 10: | Line 10: | ||
The basic features of Smart Docking library. | The basic features of Smart Docking library. | ||
| + | You can try to drag the zones with name `Content 1' and `Content 2'. See the nice dragging feedbacks. Try to dock `Content 1' at the sides of `Content 2', or try to tab `Content 1' with `Content 2'. | ||
| + | You can also play with the tool bar. Undock the tool bar. Dock the tool bar at top/bottom/left/right side of main window. Resize the floating tool bar to several rows. | ||
| + | `Ctrl + Tab' is supported, too. | ||
== Docking Control == | == Docking Control == | ||
Revision as of 21:32, 19 August 2007
If this is the first time you try to play with Smart Docking library. It's recommend you to compile the examples in $EIFFEL_SRC/example/docking folder. In the folder, there are two examples:
Simple
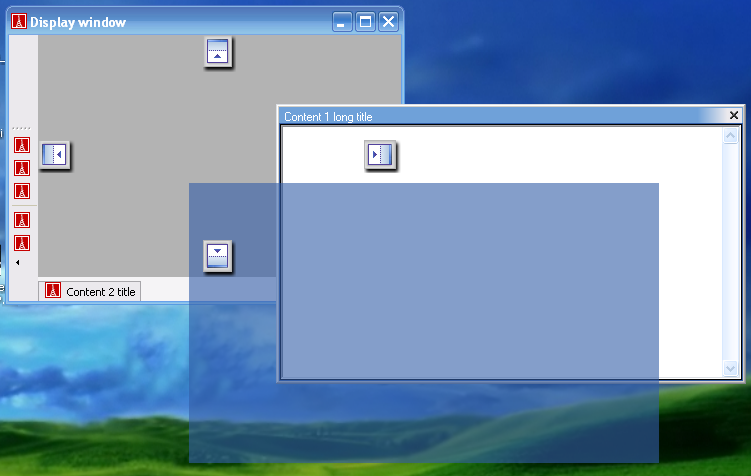
Snapshot:
What you will found:
The basic features of Smart Docking library. You can try to drag the zones with name `Content 1' and `Content 2'. See the nice dragging feedbacks. Try to dock `Content 1' at the sides of `Content 2', or try to tab `Content 1' with `Content 2'. You can also play with the tool bar. Undock the tool bar. Dock the tool bar at top/bottom/left/right side of main window. Resize the floating tool bar to several rows. `Ctrl + Tab' is supported, too.
Docking Control
snapshot: start_with_smart_docking_library_2.png
What you will found: You can try almost all the features of Smart Docking library just by press the buttons on the control panel.


